FreeIPA is a centralized idenity management solution developed by Redhat. It is in my opinion the most functional libre alternative to Microsoft's Active Directory. Like AD, FreeIPA integrates all of the pieces needed to setup a domain including LDAP, Kerberos, a Certificate Authority, and much more.
I will be using Fedora 35 in this tutorial. As of Debian 11, the FreeIPA server is still not in the Debian repos. You will need either a Fedora or a RHEL machine. A CentOS fork may work also but I have not tested that.
FreeIPA in an Enterprise
For readers exploring the use of FreeIPA in a business environment, note that FreeIPA documentation explicitly states that it is not a replacement for Active Directory. I have not personally tried to join a Windows computer to a FreeIPA domain, and so I can't speak to how well that would work. FreeIPA would also not be able to push out policy to Windows machines as is done with Group Policy. FreeIPA is though able to create inter-domain trusts with an existing AD infrastructure.
The Case for FreeIPA at Home
Using a full Kerberos and LDAP identity management server may seem like overkill at home. And if you only have a single computer then it probably is. But scaling up even slightly, to perhaps a small family each with their own computer, will make having FreeIPA advantageous (your family is all using Linux, right?). This will be especially apparent if you are hosting your own services. If you are for instance hosting a Jellyfin media server that everyone in your family accesses, you won't want them to juggle separate passwords for Jellyfin when you could just have them use the same password they do on the computer. This single/same sign-on capability is one of the most practically useful aspects of FreeIPA.
Install Packages
We start as usual by installing the required packages.
dnf install freeipa-server freeipa-dnsSet Hostname
The server will need to have a fully qualified hostname before setting up IPA. You will need both a hostname for the server itself and the domain name you will want for the FreeIPA domain. I will be using ipaserver.myhome.local, where ipaserver is the hostname and myhome.local is the domain name.
hostnamectl set-hostname ipaserver.home.localWe'll also need to add a hosts file entry to /etc/hosts. Open that file in an editor and add a new line with the IP of the server, the fully qualified name, and the hostname.
192.168.1.10 ipaserver.myhome.local ipaserverMake sure to reboot the server before continuing to complete the hostname change.
Firewall Configuration
We'll need to allow several ports for FreeIPA to function properly. Fedora 35 uses firewalld by default but I am going to disable that in favor of UFW here.
#Install UFW
dnf install ufw
# Stop and disable firewalld
systemctl disable --now firewalld
# Configure UFW
ufw enable
ufw allow ssh
ufw allow dns
ufw allow 88 comment kerberos
ufw allow 389 comment ldap
ufw allow 443 comment webui
ufw allow 636 comment ldaps
ufw default deny incoming
ufw reload
Configure FreeIPA
Now we can run the FreeIPA setup script. This is an interactive but mostly automatic process that will configure all of the IPA components. The --mkhomedir flag will configure the server to create home directories for IPA users on their first login and would otherwise have to be done manually.
ipa-server-install --mkhomedirThat command will bring you into the install script. You will be prompted
several times before the bulk of the configuration happens. Default values
are show in brackets after the prompt. Let's run through those prompts.
Do you want to configure integrated DNS (BIND)?:
yes
Sever host name: the default value should be showing
ipaserver.myhome.local which is what we want. Simply hit enter to acecpt
the default.
Please confirm the domain name: The default here should be
correct myhome.local so hit enter to accept that.
Please provide a realm name: This should just be the domain
name in all uppercase. If the default looks correct just hit enter.
Directory Manager password: This is the password for an
administrator account used by system services. You will not need this for daily
use so I recommend setting it to a long randomly generated string. I have found
myself that using an extremely long password here will cause the installation to
fail. A password under 40 characters should be safe.
IPA admin password: This is the password for your initial admin
user. Make this a strong password as this user has full admin rights for the
entire domain.
Do you want to configure DNS forwarders: This allows you to
configure the IPA server to forward DNS requests to another DNS server for
zones it is not authoratitve for. The DNS server is configured by default as
a recursive DNS server so answering no does not prevent internet access. If you
have another DNS server that should be used instead then answer yes and provide
the IP address when prompted.
Do you want to configure chrony with NTP server or pool address?
: Here you can configure a custom NTP server or pool for the NTP daemon chrony.
If you already have an NTP server on your network answer yes and provide its IP.
If you want to leave the deafult chrony configuration then answer no. Time
synchronization is very important in Kerberos so you should consider how you
want to achieve that on your network. If you do not have an NTP server you may
want to configure the IPA server as one later.
Continue to configure the system with these values?: This is a
final confirmation before the script takes over and configures the IPA
components. Review the information printed and enter yes if it all looks correct.
The install script will now run through configuration. This process usually takes several minutes. When finished you should get a message saying The ipa-server-install command was successful.
To finish, run this command to receive a Kerberos TGT. Provide the password for the admin user when prompted.
kinit adminAccessing the Web Interface
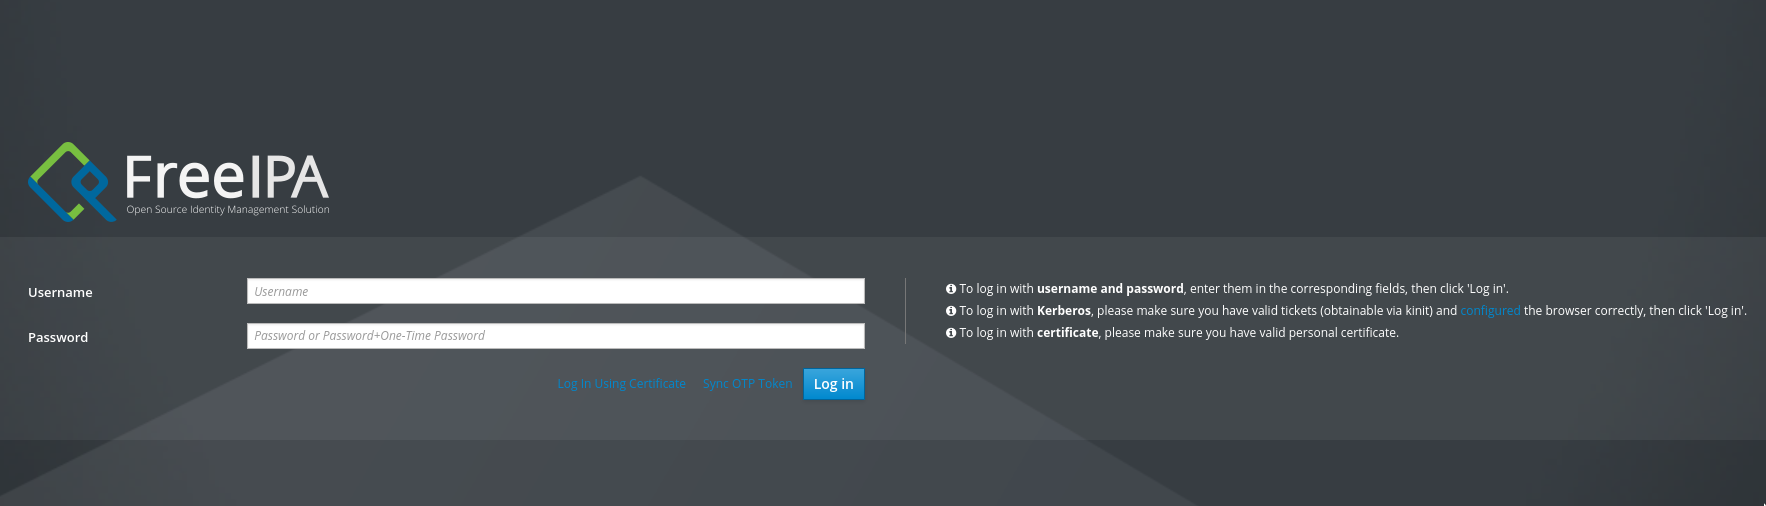
You are now able to manage FreeIPA through the web interface. You can browse either to the IP or the hostname if your DNS is configured correctly. You should see a screen similar to this.
Login with the username admin and the password you set during the insallation. You are now ready to begin configuring your IPA domain.